Get Started Free: New accounts include $10 in free credits to get started. Deploy your first application in seconds with our guided quickstart.
What You’ll Learn
In this quickstart, you’ll learn how to:- Create an Antryk account and access your dashboard
- Deploy a web service or static site in minutes
- Configure your deployment with custom settings
- Monitor your application with real-time metrics
- Live application URL with automatic HTTPS
- Global CDN distribution (200+ edge locations)
- Real-time monitoring and logs
- Automatic SSL certificates
- Zero-downtime deployments
Step 1: Create an Account
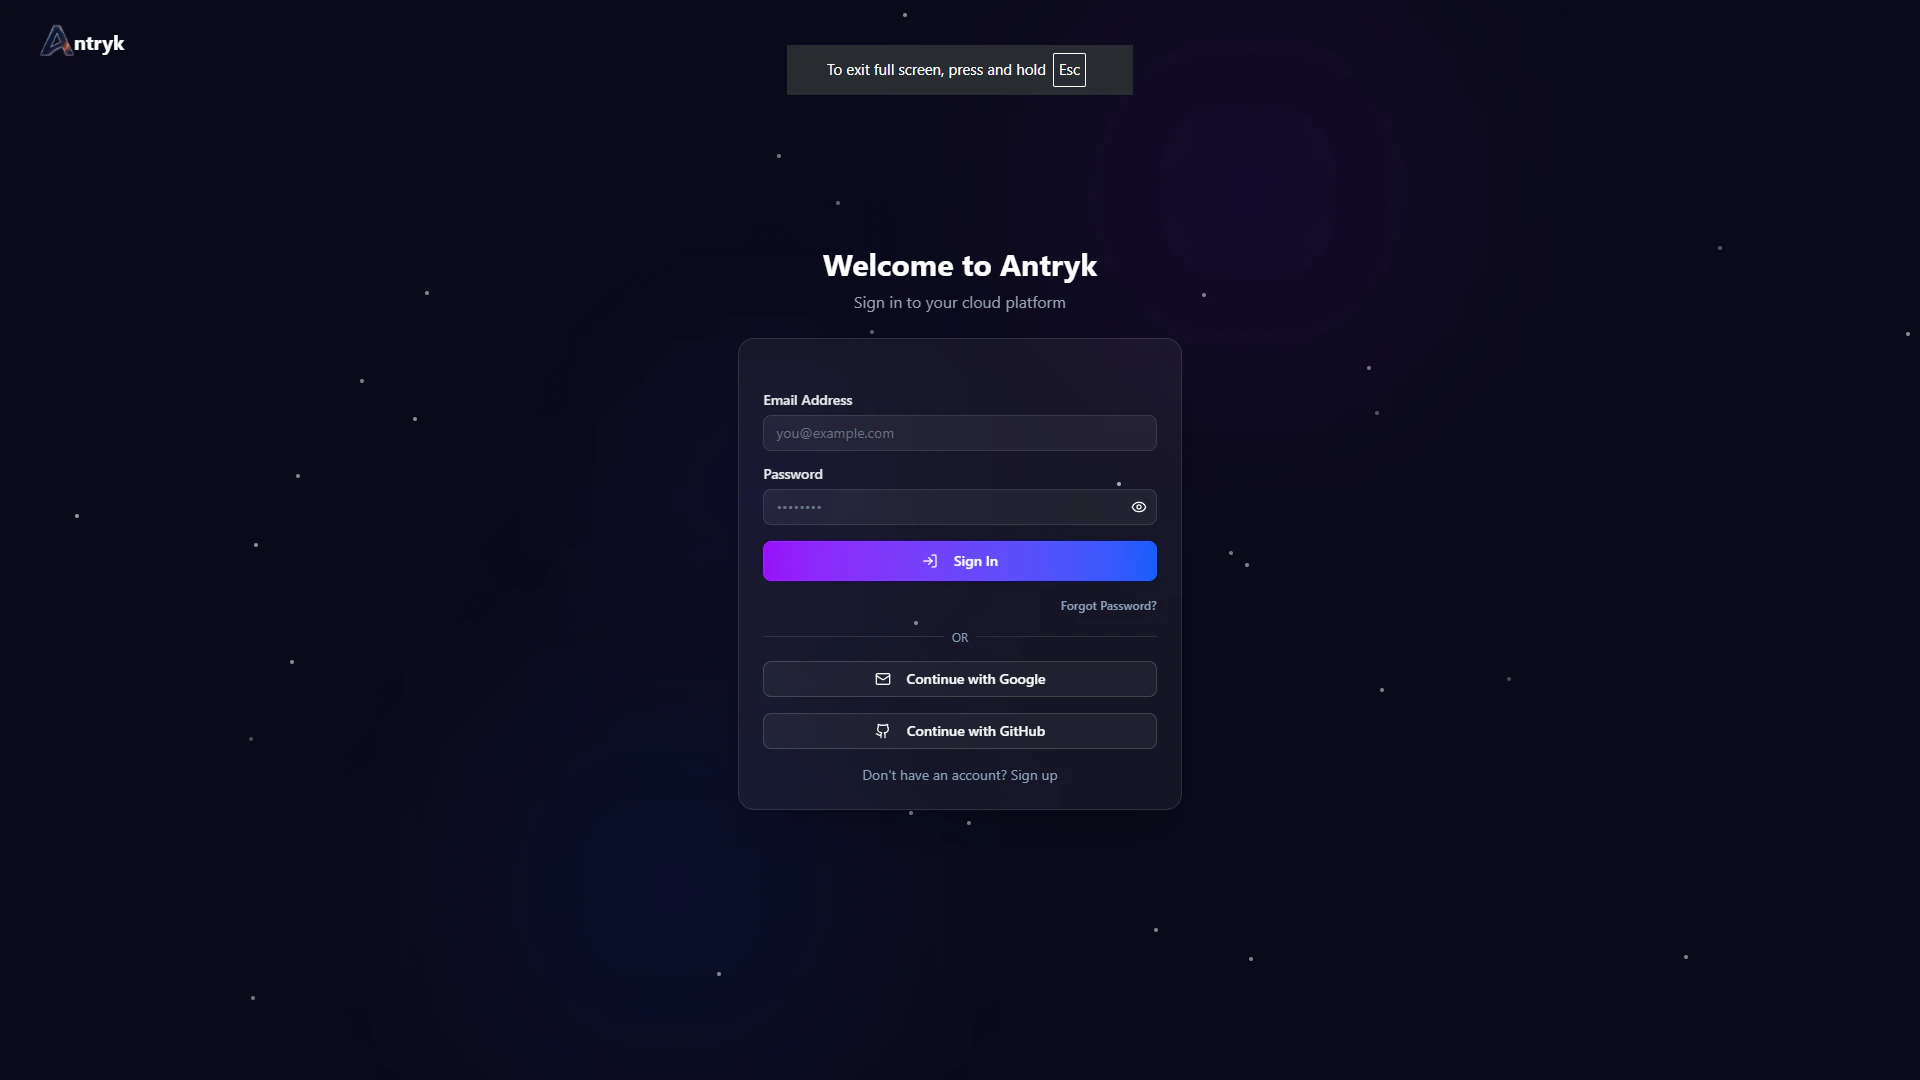
Get started by creating your Antryk account. The process takes less than a minute.Sign Up for Antryk
- Visit antryk.com and click “Get Started” on the homepage
- Sign up with GitHub, Google, or email
- Verify your email address (check your inbox)
- Access your dashboard
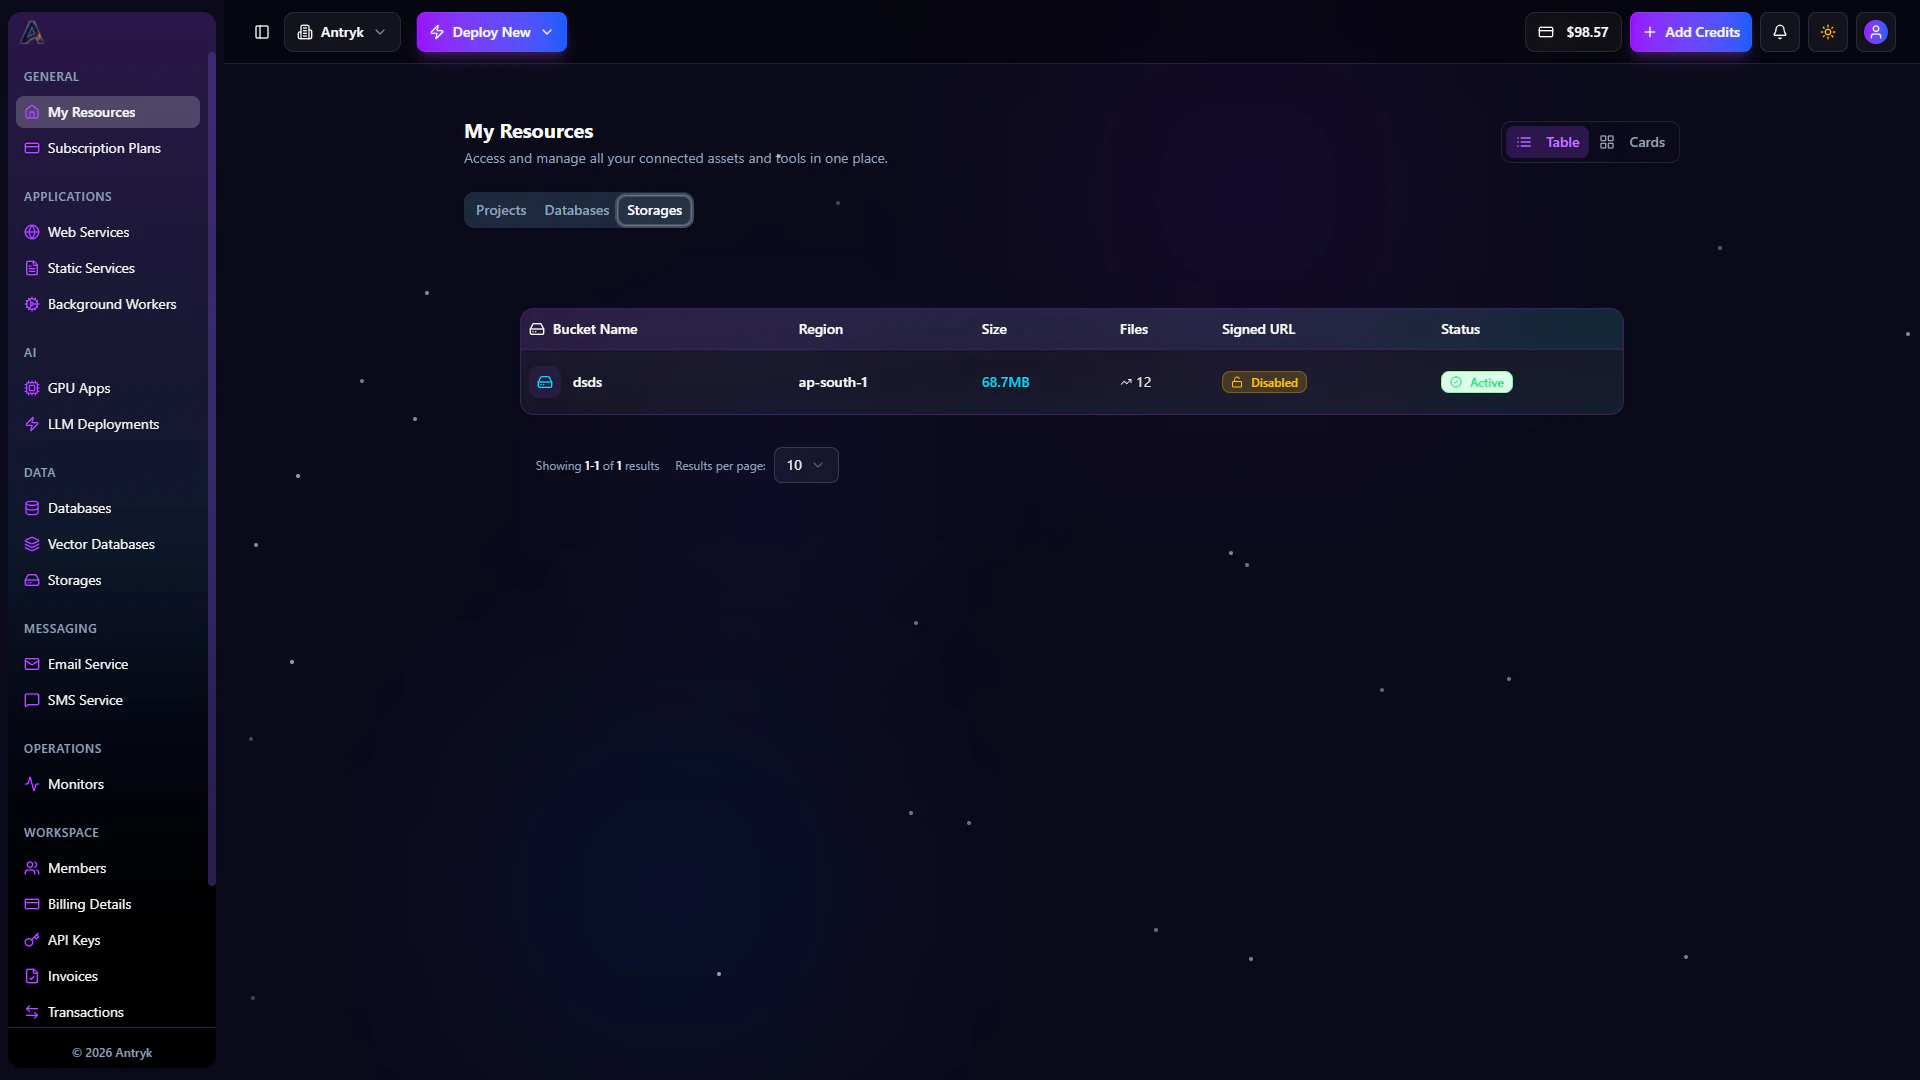
Access Your Dashboard
After signing up, you’ll be taken to your Antryk dashboard. Here you can:- View your services and resources
- Create new services
- Manage API keys
- Monitor usage and billing
Create an API Key (Optional)
For programmatic access, create an API key:- Navigate to Workspace > API Keys in your sidebar of Antryk’s dashboard.
- Click “Create API Key”
- Name your key (e.g., “Local Development”)
- You’ll get a access key and secret key .
- Copy and save your keys securely
Step 2: Deploy Your Application
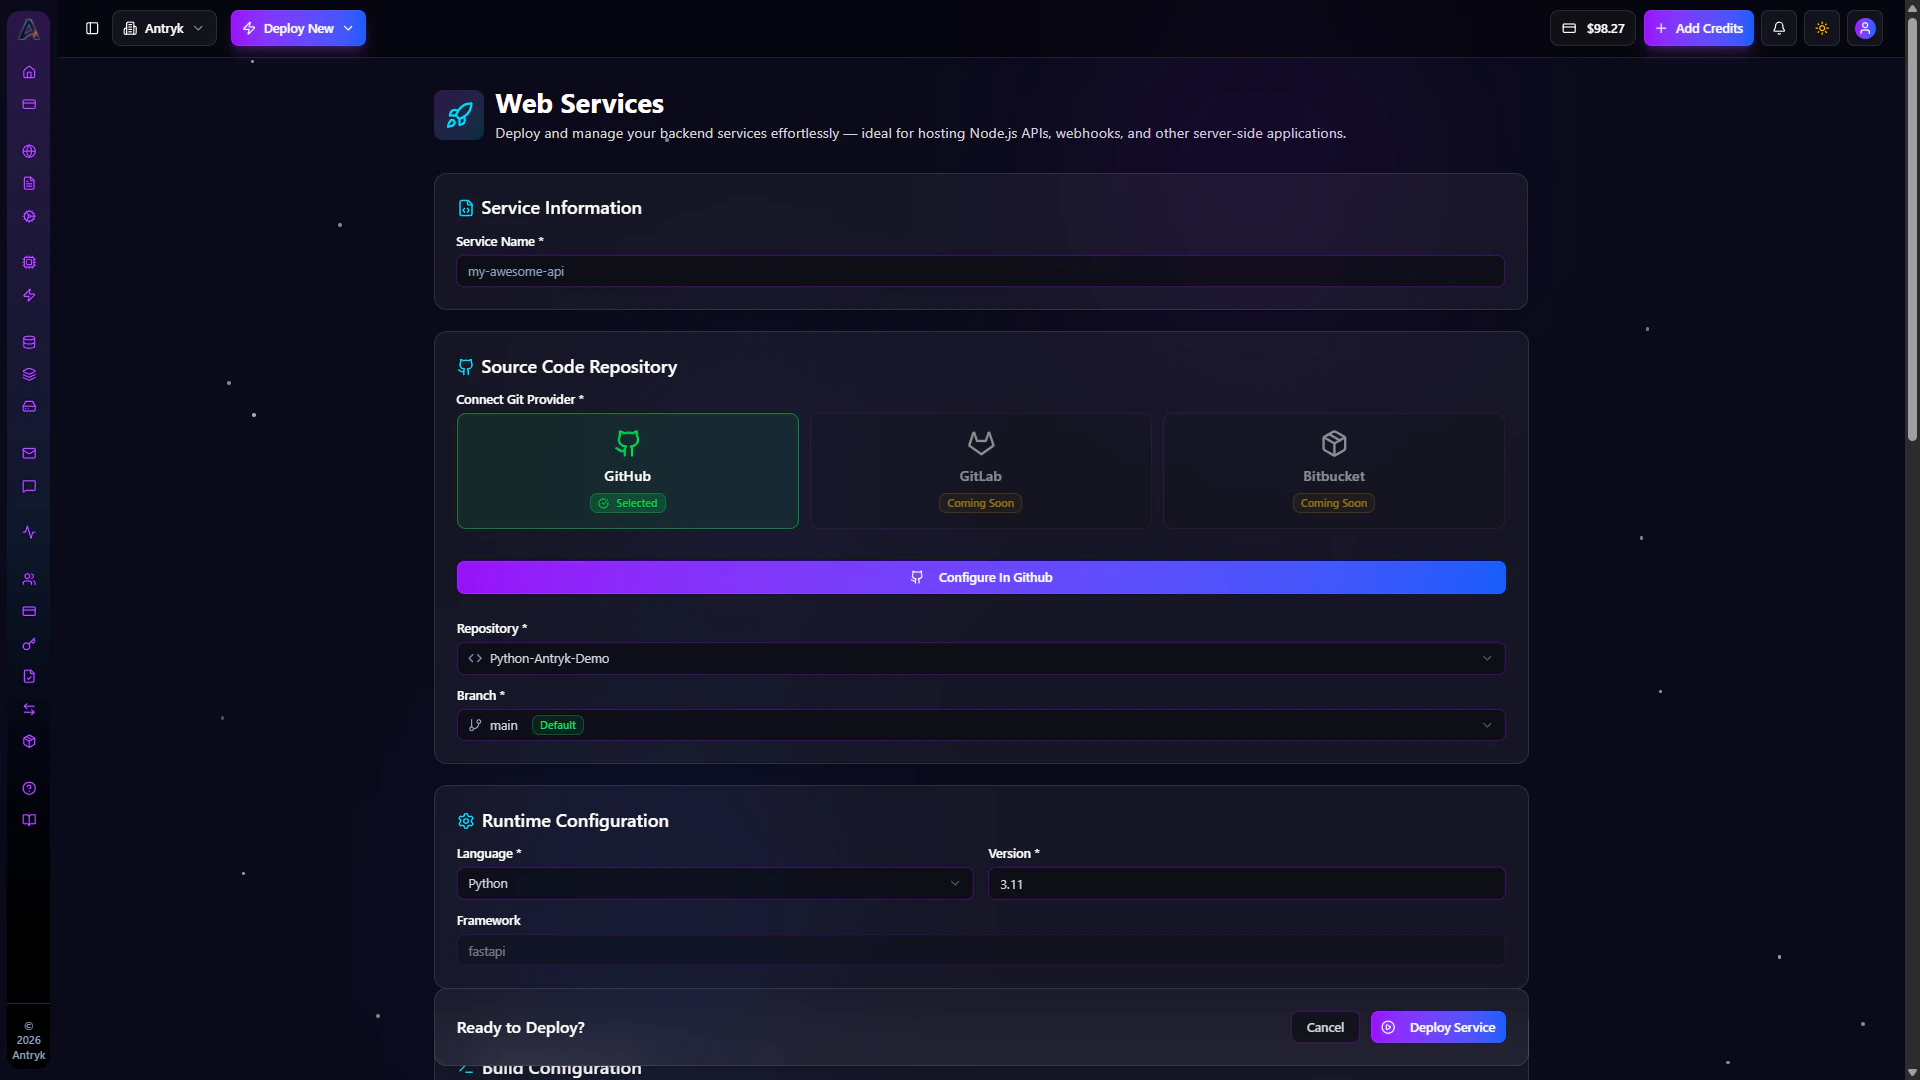
Deploy your application in seconds. Choose from web services for backend applications or static sites for frontend applications.Deploy a Web Service
Deploy your backend application (Node.js, Python, Go, Docker, etc.):- Click “Web Service” in your side bar
- Click on Add Service in web service listing page.
- Connect your GitHub repository (or upload your code)
- Configure build and start commands:
- Build Command:
npm installor your build script - Start Command:
npm startor your start script
- Build Command:
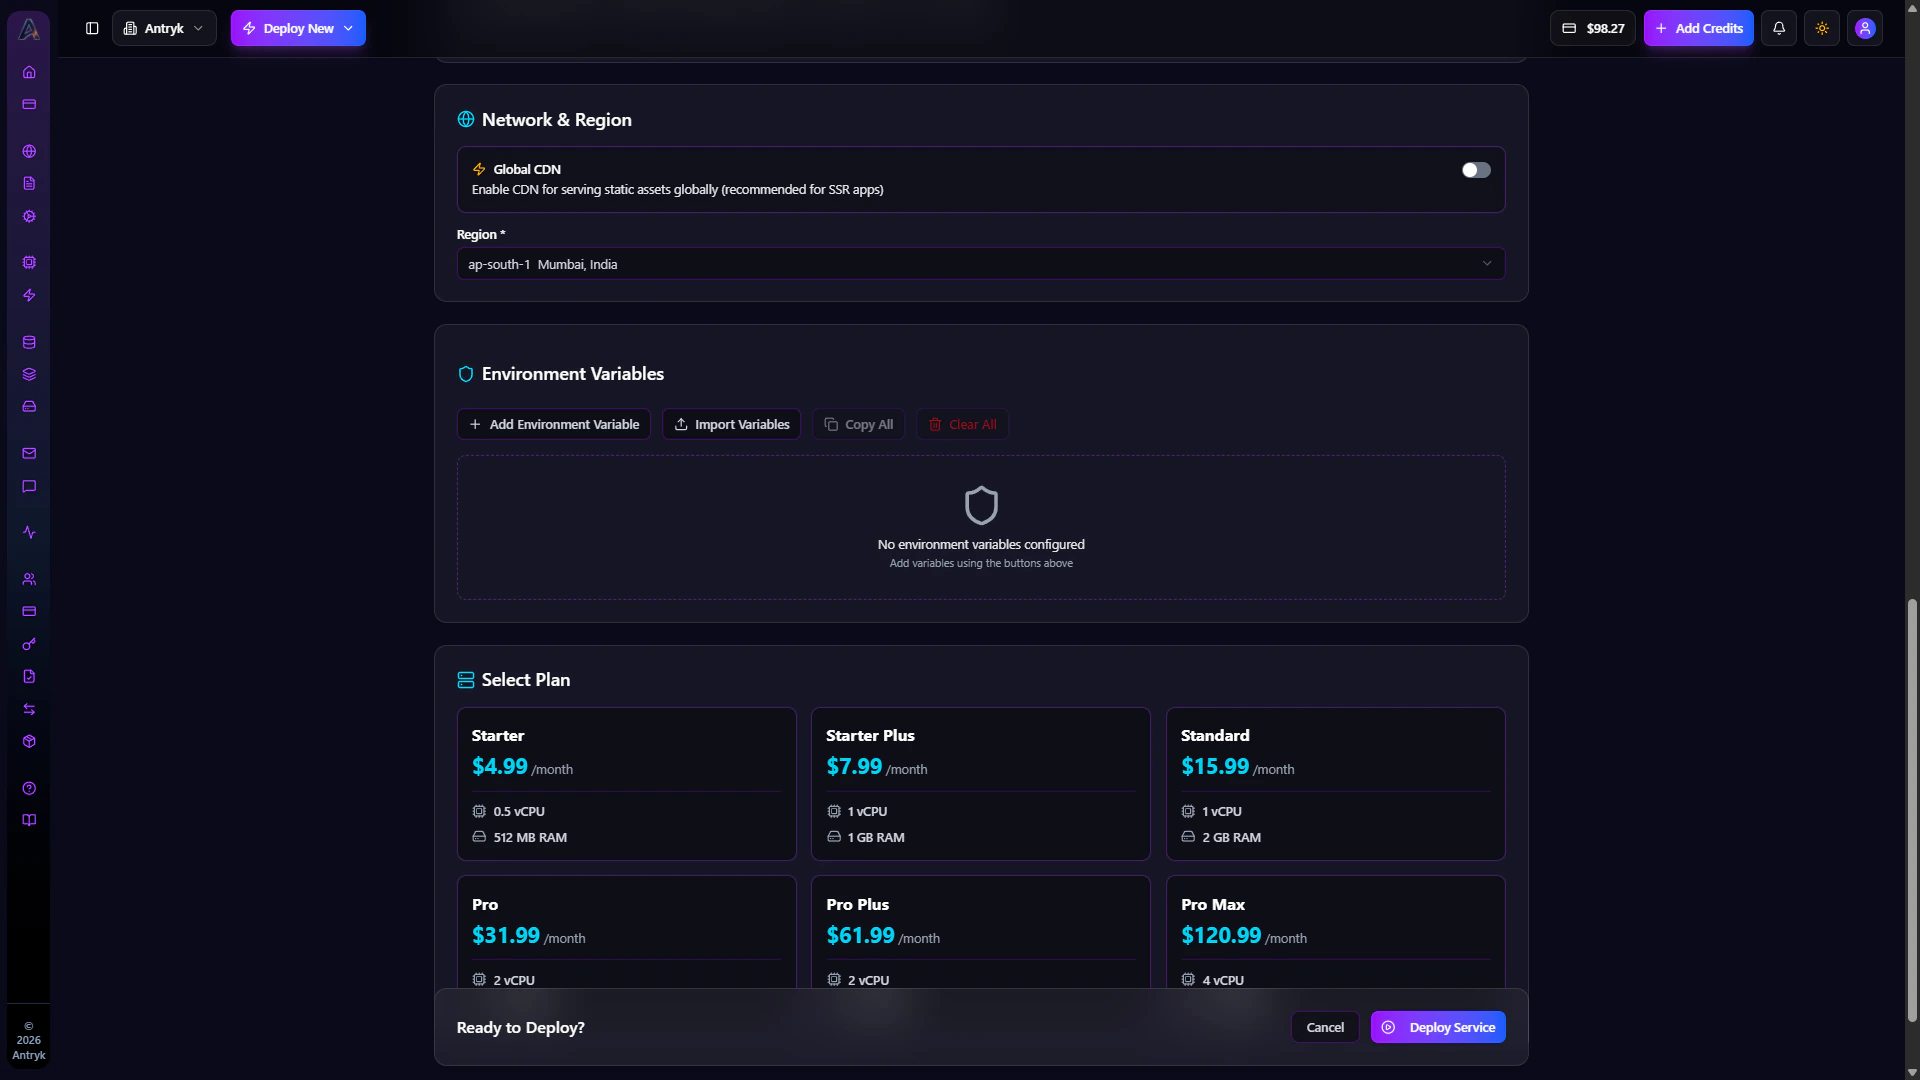
- setup region configuration
- Set environment variables (if needed)
- Select required Plan as per you needs
- Click “Deploy”
Deploy a Static Site
Deploy your frontend application (React, Vue, Next.js, etc.):Static Sites
Deploy frontend applications with global CDN and SSR/ISR support.
Step 3: Customize and Scale
After deployment, customize your service with production-ready features.Configure Your Service
Once your service is deployed, you can customize it:- Add a Custom Domain: Use your own domain with automatic SSL certificates
- Configure Autoscaling: Set up automatic scaling based on traffic
- Set Up Health Checks: Configure health check endpoints for automatic recovery
- Enable Monitoring: Access real-time metrics, logs, and performance data
- Configure Environment Variables: Add or update environment variables securely
View Your Live Service
After deployment, you’ll see:- Live URL: Your service is immediately available at a unique Antryk URL
- Service Status: Active status with health indicators
- Metrics Dashboard: Real-time CPU, memory, and request metrics
- Logs: View application logs in real-time
- Deployment History: Track all deployments and rollback if needed
Your service is automatically deployed with HTTPS, global CDN.
Real Data & Benefits
Here’s what you get when you deploy on Antryk:Deployment Speed
- Deploy in Seconds: Your application goes live in seconds, not minutes
- Automatic SSL: SSL certificates provisioned automatically in under 60 seconds
- Zero Downtime: Deploy updates without service interruption
Free Credits
- $10 Free Credits: New accounts receive $10 in free credits to get started
- No Credit Card Required: Start using Antryk without providing payment information
- Generous Free Tier: Enough credits to deploy and test multiple services
Infrastructure
- Global CDN: 200+ edge locations worldwide for optimal performance
- Auto-Scaling: Automatically scale from zero to millions of requests
- 99.99% Uptime: Enterprise-grade reliability with multi-zone replication
- Real-time Monitoring: Live metrics, logs, and health checks available immediately
Security
- Automatic HTTPS: SSL/TLS encryption enabled by default
- DDoS Protection: 10 Tbps protection capacity
- Secure Environment Variables: Encrypted storage for sensitive configuration
Next Steps
Now that you have your first service running, explore these features:Add a Database
Deploy a PostgreSQL, MongoDB, MySQL, or Redis database with automated backups and high availability.
Set up Storage
Create storage buckets for files, images, and media with global CDN acceleration.
Configure Domains
Add custom domains with automatic SSL certificates for your services.
Monitor Performance
Set up free uptime monitoring and track metrics for your services.
Need help? Check out our examples or contact support@antryk.com for assistance.